

6 Steps to Creating a Rock Border for Your Flower Beds
July 31, 2025
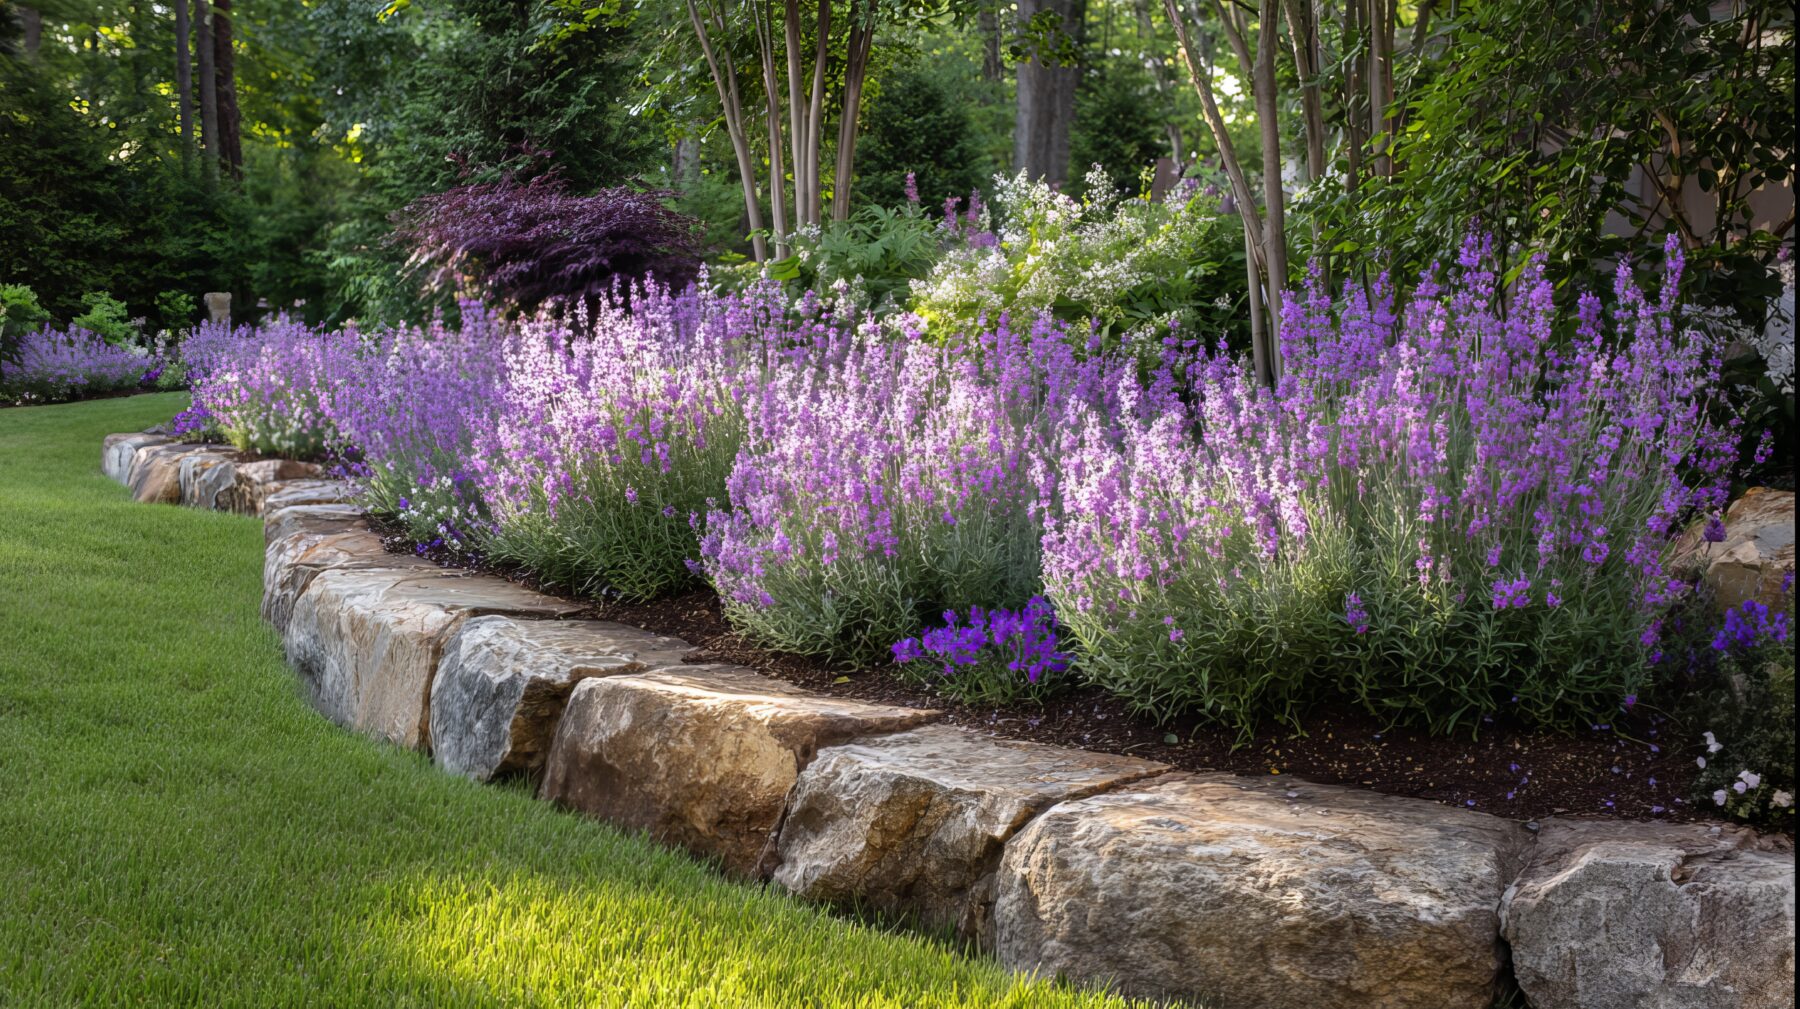
A rock border defines the space with structure and style, creating a clear boundary that enhances both the design and functionality of your flower beds. The texture of stone anchors the design, complementing both structure and planting. It’s a durable, low-maintenance feature that brings lasting definition to any landscape. With a few simple steps, all this can be accomplished without taxing your budget and peace of mind.
- Map Out the Edge with Clear Intent
Before any stone gets placed, the layout needs definition. Start by outlining the shape of the bed with marking paint or twine and stakes. This provides a visual path and eliminates guesswork when trenching begins.
Curved edges soften geometric spaces, while straight lines lend structure to looser landscapes. Either way, the outline should match the bed’s scale and integrate with the surroundings. A tight, cohesive layout supports both style and stability.
- Select the Rock That Supports Both Form and Function
There are a lot of rock variations, and they should be deployed in projects that are appropriate for the installation. The material chosen impacts both the visual tone and the staying power of the border.
Angular stones like crushed granite or flagstone act as natural anchors and resist movement during use. Rounded options such as river rock bring a softer aesthetic and blend well with organic planting schemes.
Color shifts the tone of the border. Cooler shades like gray or charcoal sharpen the look and lean modern. Warmer tones like browns, rust, sandstone, pull various elements into the landscape and keep the palette grounded. Keeping the mix controlled tightens the overall design and keeps the edge clean.
Whenever possible, choose regionally available rock to maintain consistency and simplify future additions.
- Dig a Trench that Anchors the Structure
With the shape marked and materials ready, dig a trench along the edge that’s 4 to 6 inches deep and 6 to 8 inches wide. This space provides the foundation for the rock to sit level and resist shifting.
Clear all roots, grass, and debris. A compacted base of gravel or sand reinforces the foundation, while landscape fabric creates a barrier that keeps the focus on the design. This step establishes and maintains the structure. It builds stability into the layout and ensures the border holds through seasonal changes.
- Place Each Stone with Precision
Begin installing the stones at the most visible or prominent section of the bed. Set each rock into the trench so it sits flush and stable.
With larger stones, take the time to nestle them into the base. Slight adjustments in angle or position can make the difference between a stone that looks balanced and one that feels off.
Keep the line true to the original layout. Spacing should feel deliberate and consistent, whether the design calls for tightly packed edges or spaced accents.
- Backfill and Lock in the Design
Once the stones are positioned, backfill both sides of the trench with soil, mulch, or matching gravel. Press the material tightly to hold everything in place.
Filling gaps ensures a clean transition from border to bed and adds weight to the base of each stone. Where decorative gravel is used, keep it uniform to maintain the visual momentum.
- Maintain the Line Seasonally
Rock borders are designed to last, but seasonal maintenance ensures they stay sharp and effective.
At the start of each season, clear away leaves or debris, check for shifted stones, and remove encroaching grass. Touch up any areas where material has settled or washed out.
Also, keep a few extra rocks from the original batch on hand. When replacements are needed, matching material maintains the border’s continuity and feel.
When done well, a rock border is effective at framing flower beds, but it also accomplishes much more. It reinforces the design, anchors the layout, and adds lasting visual value. With this kind of approach, what often begins as a simple edging project becomes a purposeful upgrade, one that supports both the living elements and the lasting structure of the landscape.