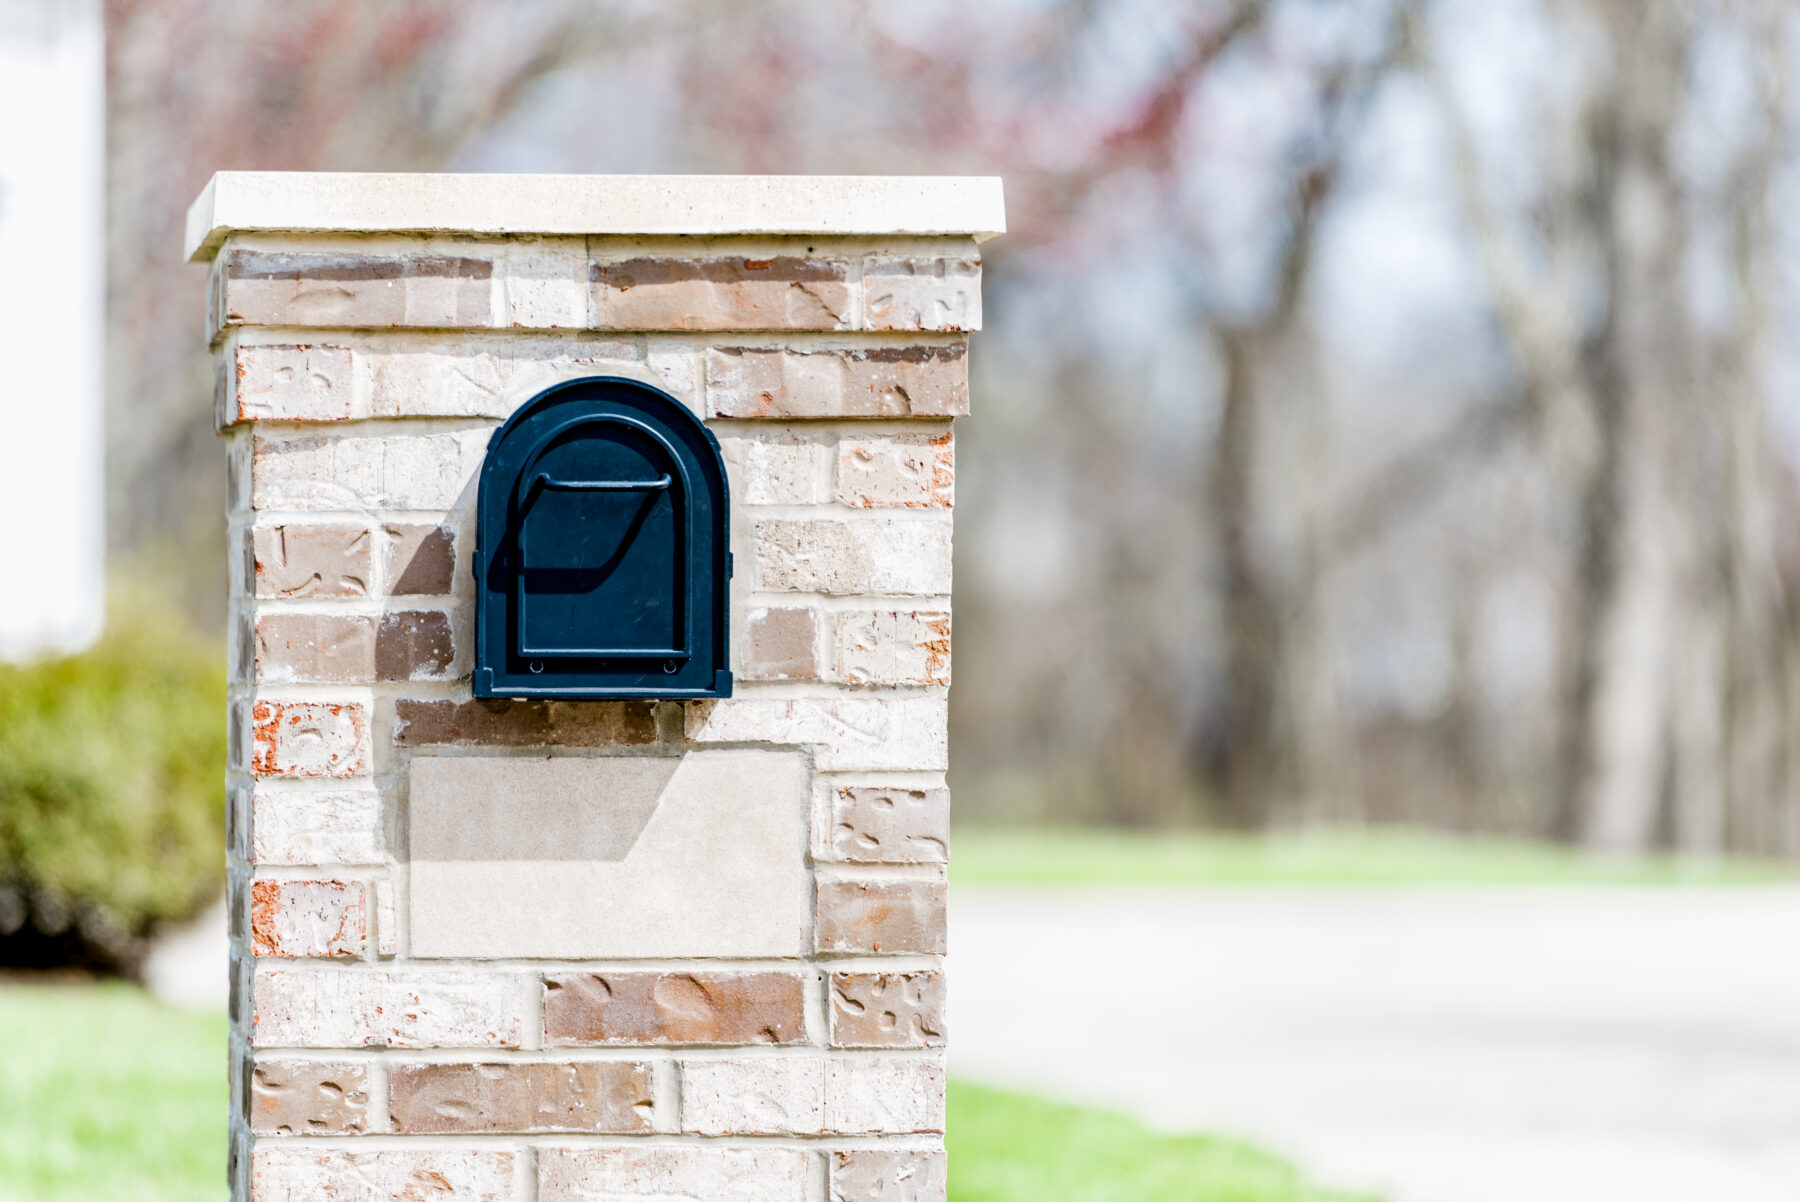
How to Build a Concrete and Brick Mailbox This New Year
January 4, 2024

If you’re like us, the New Year means it’s time to reset. New plans, a new focus, and maybe a new home project. But where should you start if you’re wanting to make a statement without a massive overhaul? How about putting together your own concrete and brick mailbox? It’s got this classic look that never goes out of style and it’s tough and durable too – perfect for adding both charm and practicality to your place.
Why Concrete and Brick?
The simple response would be that it looks amazing. But it’s not just easy on the eyes – it’s built to last, and it’s made of simple materials that you can pick up from nearly any home improvement store. Add in some sweat equity and you’ve got all you need.
Picking Up What You Need
Let’s say that you find yourself standing in your garage or shed, taking note of what you’re going to need for this project. Now, we’re adding a few more key players to this scene – concrete mix, bricks, a mailbox insert, mortar, a trowel, a level, and a shovel. Each of these items is like a puzzle piece, and when put together just right, they’ll transform into something both beautiful and functional – your new mailbox. A little side note: make sure to let the employees at the store know that you’re planning to insert your mailbox into a concrete and brick housing. This might alter the hardware you’ll need to fasten it to its housing.
Starting with a Solid Base
Now, let’s get our hands dirty. Begin by digging a hole about 18 inches deep and fill it up with concrete. This is going to be the rock-solid base for your mailbox. Once that concrete sets, you can start laying your bricks around the edges. Make sure you keep them nice and straight with your level. This is where you can get creative with the brick by stacking them in a unique pattern or using various kinds of bricks to create an interesting look.
Stacking Those Bricks
Building up the mailbox is the fun part. As you go higher, keep checking to make sure everything’s lined up right. Smooth on that mortar evenly between the bricks – it makes all the difference in how it looks. Just remember, good things take time, so no rushing here.
Sliding in the Mailbox
Once you’ve got your brick structure just how you want it, it’s time to add the mailbox. But make sure it’s secure! This step’s crucial – it’s what makes your mailbox both look good and work right.
The Final Product
Now that your mailbox is in, you can add some personal touches. Maybe a protective sealant to guard against the weather or a color topcoat that works for you. These little bits can really make your mailbox pop.
Building your own concrete and brick mailbox is a really satisfying project. Not only does it allow you to express your style in your property, but you’ll absolutely feel proud of what you’ve accomplished. Keep in mind, the material you use makes a big difference. Choose quality materials, and you’ll see it in your results.

